Find the Kits on our Online Stores!
Download the Lesson Plans here!
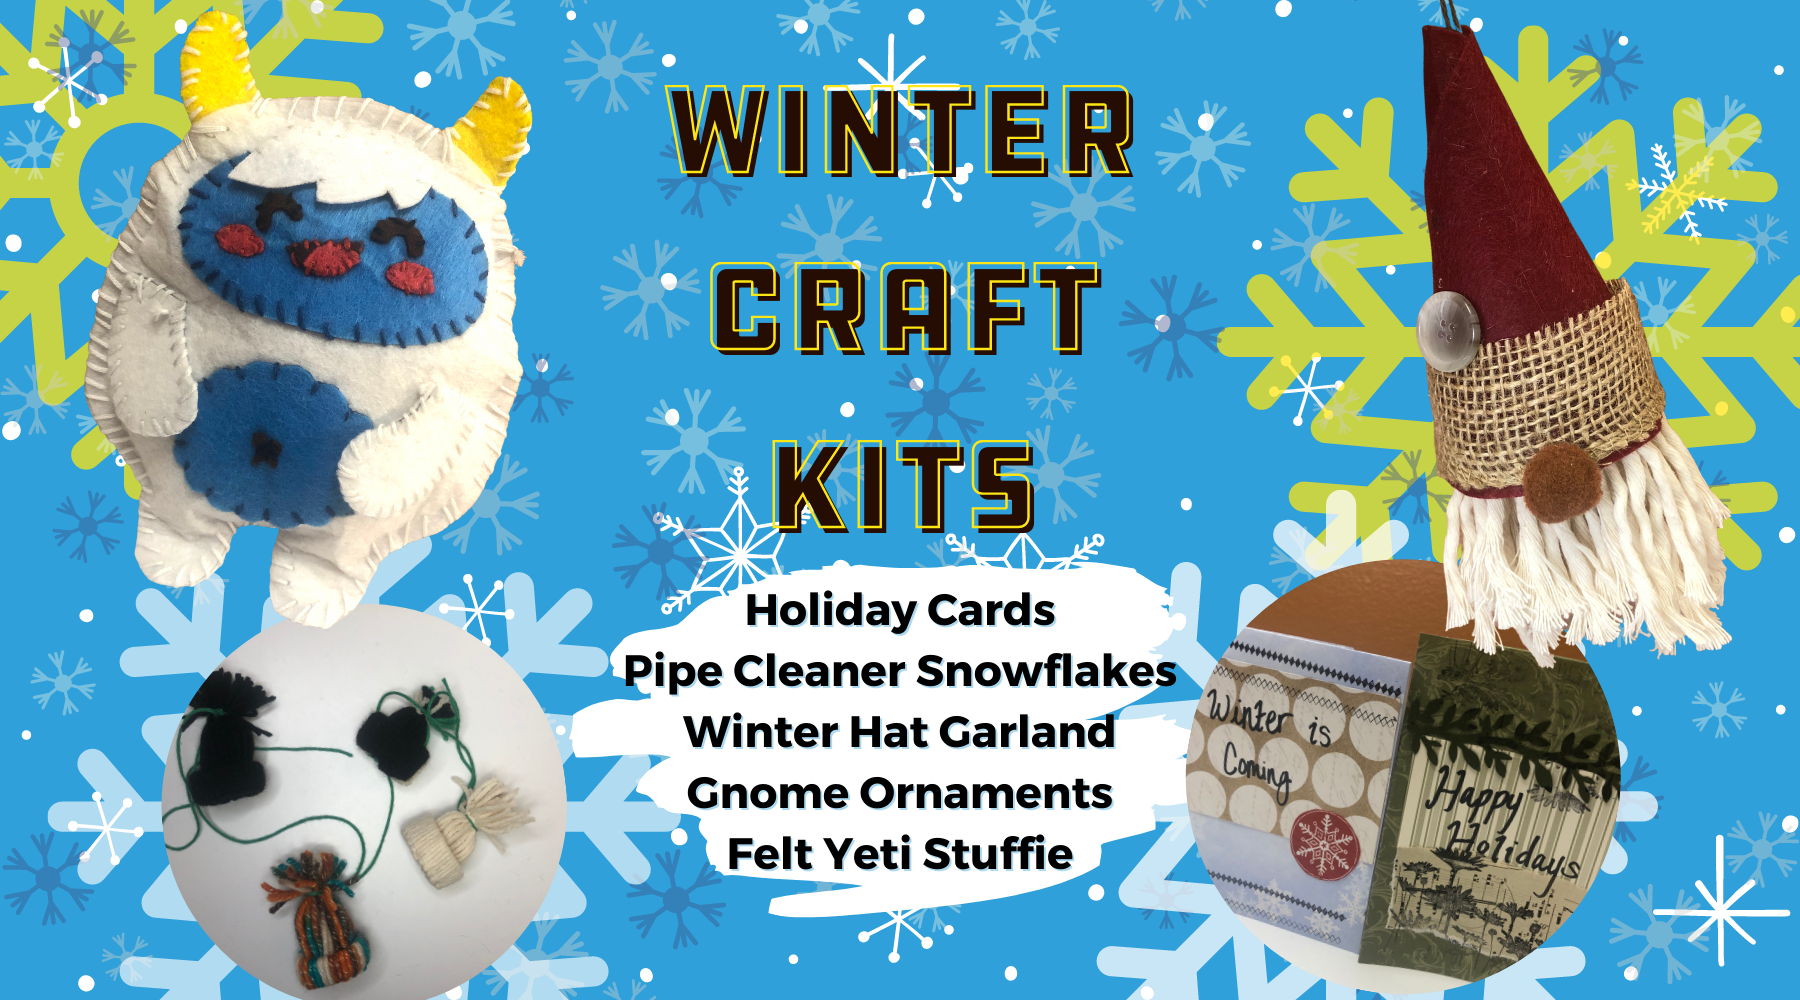
Make holiday cards for winter, new years, and Valentines/Palentines!
Materials:
Craft:
1) Start with your base card – typically a single color or simple pattern with cardstock/thicker weight.
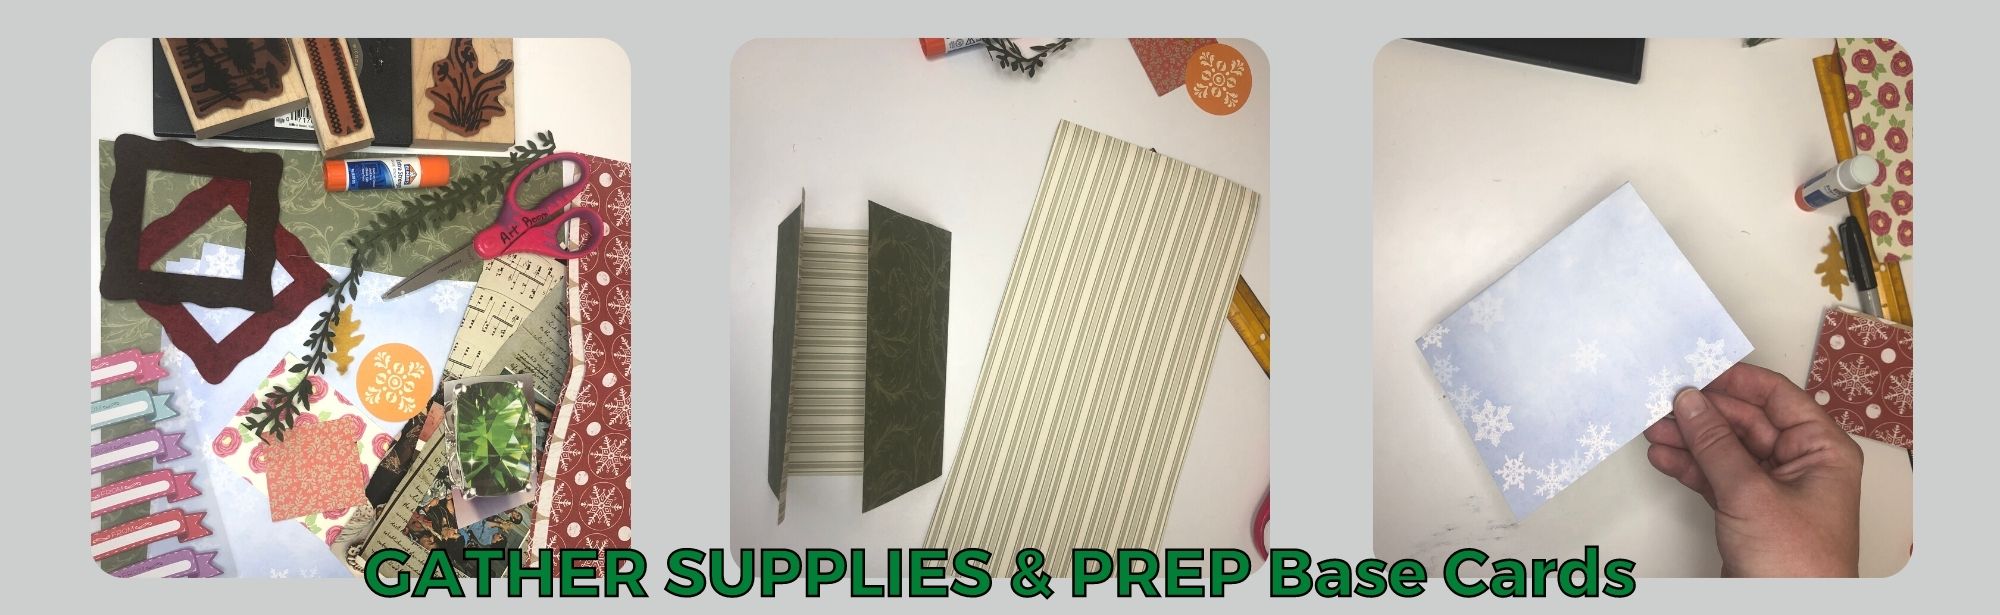
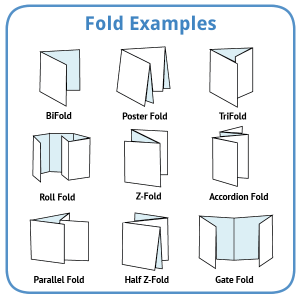
2) Prep paper folding and crease card into the size you want. Trim as needed.
3) Gather embellishments, accessories, photos, etc – choose colors that compliment or are complimented by the base card.
(If you need to decide a color–scheme, look at the central illustration or photo you are using and pull colors from there.)
.jpg)
4) Find an envelope, or create your own!
.jpg)
Check out our inspirational video on Palentine's / Valentine's Cards and DIY Envelopes!
This is a fun and simple craft that is great for young kiddos to teach them counting and patterns.
Materials:
Craft:
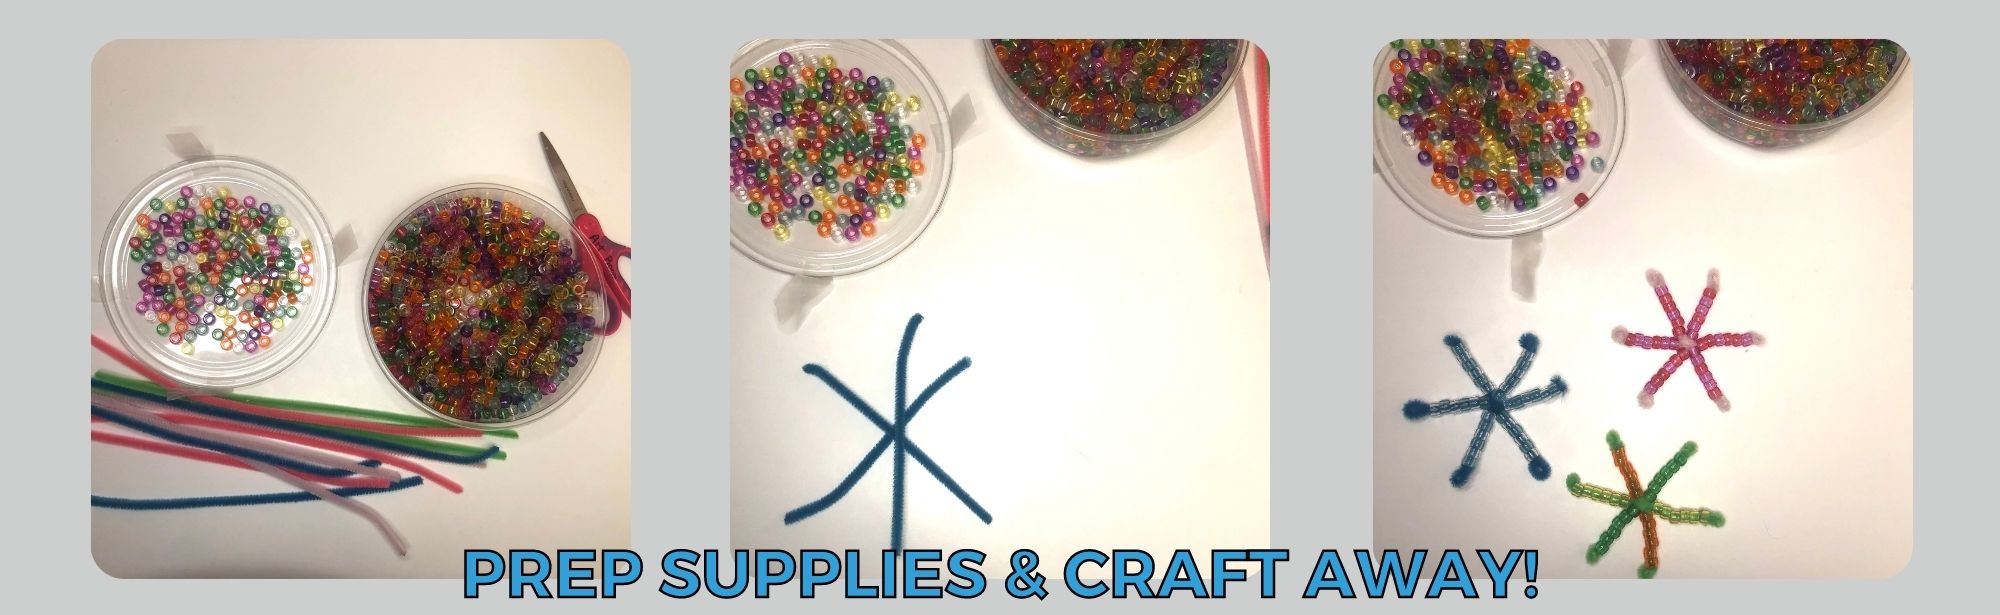
1) Cut the pipe cleaners in half - You will need 3 of the halved pipe cleaners for each snowflake.
2) Making the Snowflakes:
3) Add Pony Beads in various designs (see page 2 for ideas!)
4) To finish the snowflakes we wrapped the end of the pipe cleaner around our finger to curl it and stuffed the end of the pipe cleaner into the hole of the last bead. This kind of creates a knot so that the beads won’t come off.
5) Finally, you can tie a ribbon to one of the ends to create a beautiful snowflake ornament, or attach them to a longer piece of yarn to create a snowflake garland.
Counting – Ask kids to place 5 pony beads on each pipe cleaner. I found that they kept counting them to check the quantity. They also had to figure out how many more they needed to add or take off to get the correct number of beads. When your snowflakes are complete, you can ask kids to count the total quantity of beads on their snowflakes.
Pattern by Color – Ask kids to create a pattern with the bead colors. They can create an ABAB, ABCABC, or similar pattern on each individual pipe cleaner, or kids can create a pattern by filling alternating colors on each pipe cleaner.
Pattern by Quantity – If kids placed 4 beads on one pipe cleaner and 5 beads on the next pipe cleaner, etc…they would have an ABAB pattern made with bead quantities.
Constructing and Deconstructing Numbers – Use two color of beads. Ask kids to place 5 beads on each pipe cleaner and ask them how many different ways they can create 5 with the colors. (4 purple beads + 1 blue bead, 3 purple beads + 2 blue beads, 2 purple beads + 3 blue beads…..)
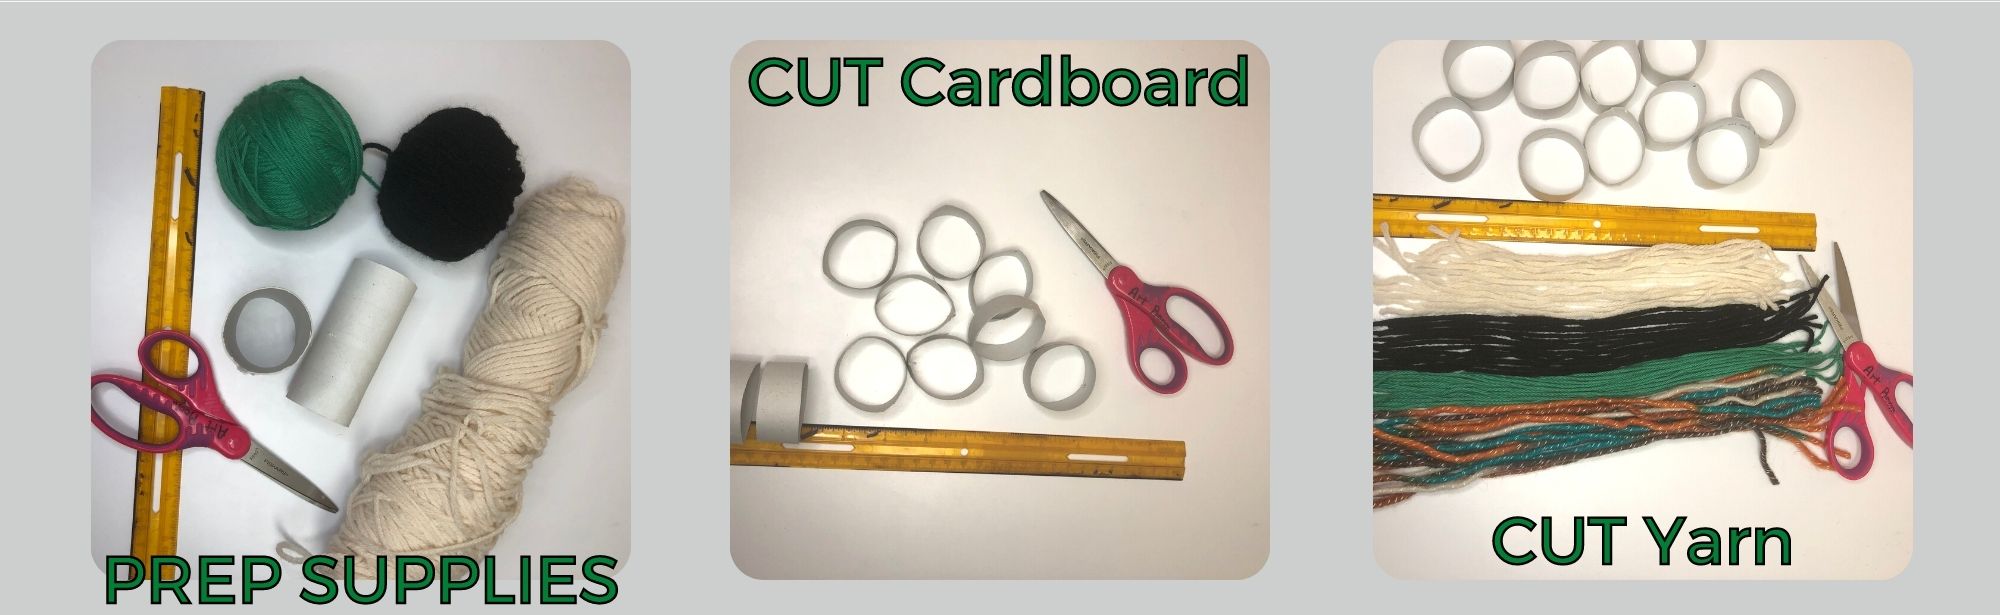
These cute mini-hat garland is a fun craft to decorate the house with.
Materials:
Craft:
1) Pre-cut your cardboard piece and yarn pieces: each yarn piece 10 inches long, you need about 35 – 40 pieces per hat.
2) Take a piece of the yarn and form a U-loop.
.jpg)
3) Loop the yarn through the cardboard circle and place ends through the loop you've formed – it should wrap around the cardboard securely. Pull through and straighten out the pieces.
4) Repeat this process with all the yarn pieces until the cardboard hoop is totally covered.
.jpg)
5) Turn it inside out and Bunch of the yarn end pieces to form the tip of the hat. Use another piece of yarn to tie it off at the end. Trim the excess.
.jpg)
6) You can attach a small pom pom, or leave it with the pieces sticking out.
7) If you want to keep its shape strongly, you can stick some toilet paper or cotton balls in the hat to bolster/hold its shape.
.jpg)
8) Once you have all your hats ready, use a longer piece of yarn and attach the hats to it, creating your garland.
These gnomes add a cute and festive touch to your winter crafts.
Materials:
Craft:
1) Take one end of the thick yarn and begin wrapping it loosely around the palm of your hand, approximately 50 times. Cut the end.
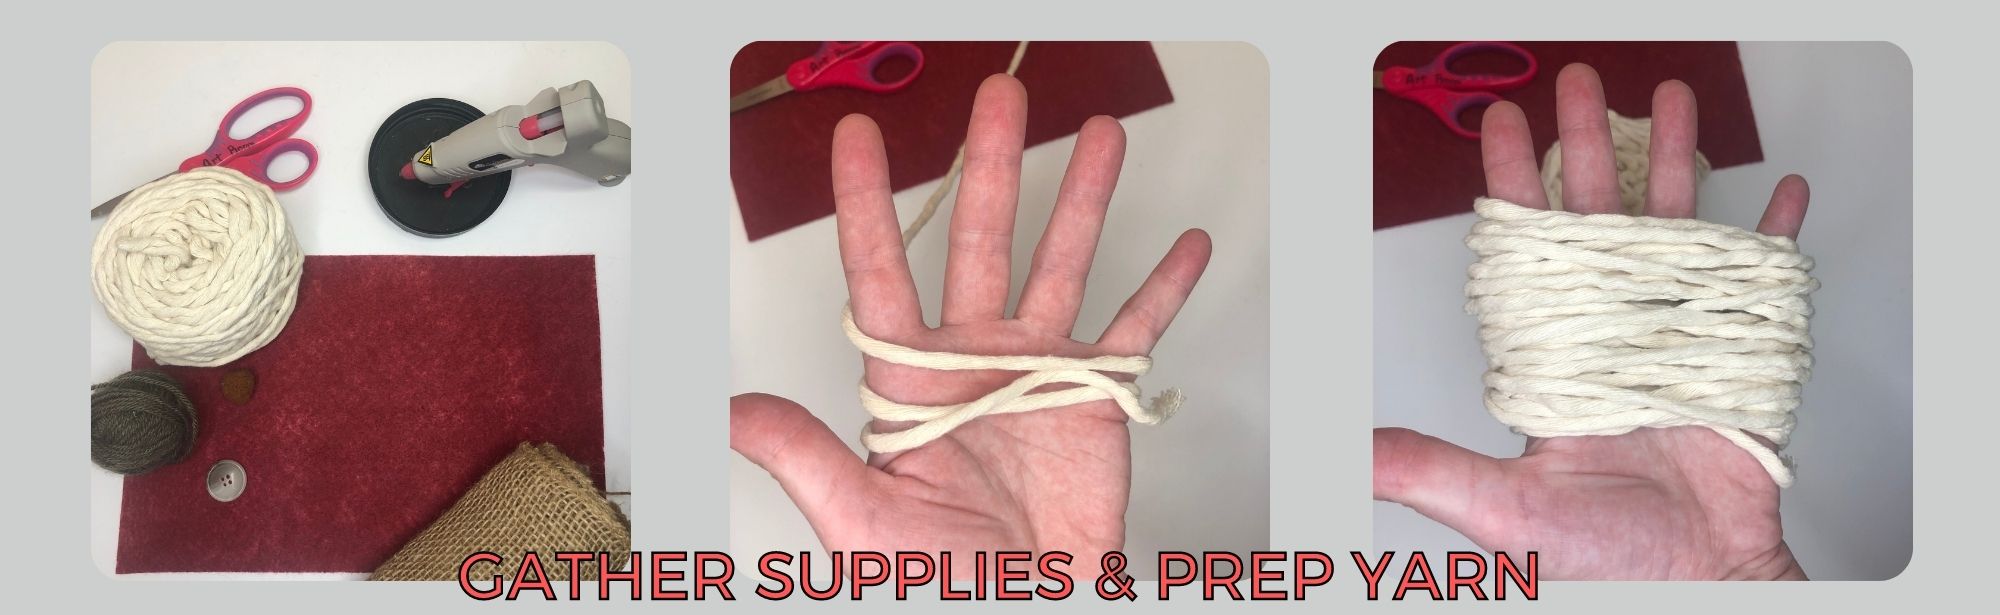
2) Now, cut a 5” long strand and secure that around the wrapped yarn, removing your hand. Tie the strand into a tight knot around the yarn that was wrapped around your hand.
.jpg)
3) Cut the yarn loops to form a loose pom-pom. Put pom-pom aside for the time being.
4) Create the felt gnome hat: Cut a large semi-circle from the felt. Wrap the felt into a cone-shaped gnome hat using a wooden dowel (or pencil) to help wrap the felt around leaving a small opening at the cone tip. Use hot glue or craft glue to seal the hat.
.jpg)
5) Tie the cut ends of the twine around the pom-pom, weaving the twine under the pom pom knot to secure first. Pull the looped end of the twine up through the hole at the top of the hat.
6) Pull on the twine gently to pull the gnome beard into the hat.
.jpg)
7) Glue one wood ball to the bottom edge of the hat for the gnome nose. Glue two painted wood circles onto the front of the hat (or use buttons or pom-poms if you’d like).
8) Trim any really long and uneven yarn ends. Be sure to keep the yarn in the center the beard the longest to really look like a gnome beard!
.jpg)
9) Optional: create multiple gnomes, then tie them together on a longer piece of yarn to create a garland.
Beware of the super-adorable Felt Yeti!
Materials:
Craft:
Prep: Cut all your pattern stencils our first.
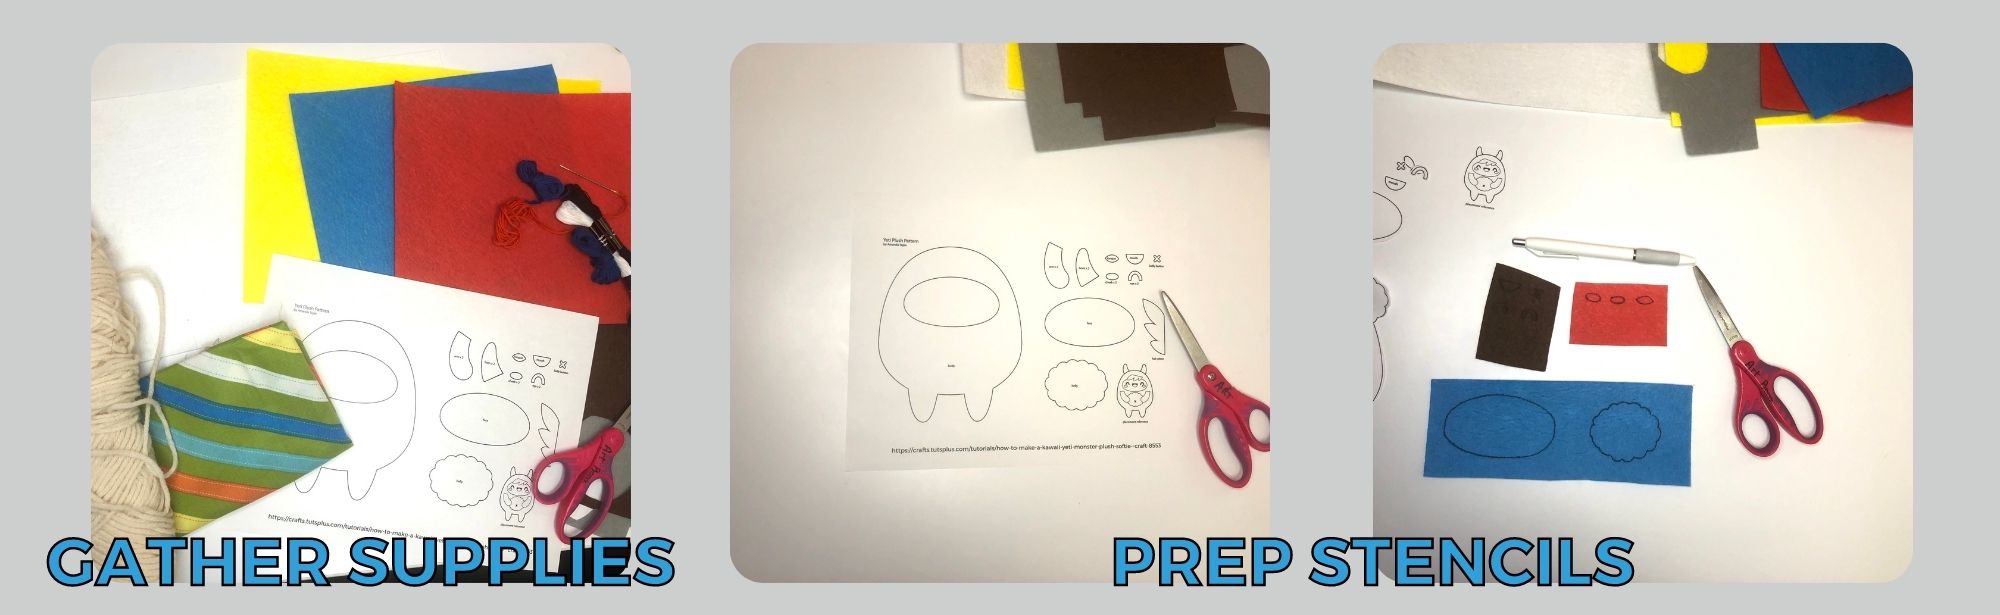
Tracing:
1) Get the brown, blue, and pink felt sheets. Using a pen, trace the eyes, mouth, and belly button onto the brown felt. Trace the cheeks and tongue onto the pink felt. Then, trace the face and belly onto the blue felt. Make sure you double the eyes and cheeks.
.jpg)
2) Get the white and yellow felt. Make sure the felt is folded in half, so you have two layers of fabric. Trace the body and arms on the white felt (combine body + arms into pattern). Trace the horns on the yellow felt. Double the arms and horns.
3) Carefully cut out the felt pieces directly on the line and turn them over.
4) Cut out the white and yellow felt pieces, but make sure to leave a half inch seam allowance.
Sewing:
.jpg)
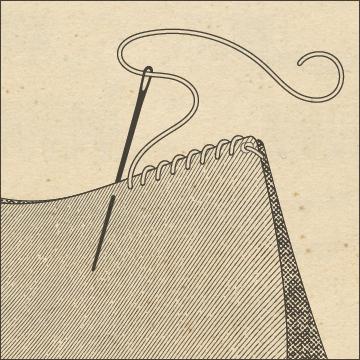
5) Sew the Mouth: Grab the brown mouth piece and pink tongue. Using the pink thread, sew the tongue onto the brown back piece with a whip stitch. Then set it aside.
Whip Stitch: The needle is passed in and out of the fabric in a series of stitches that circle an edge of the fabric. In hand sewing, this stitch can be used to create a seam but can also be used for joining two felt pieces together.
6) Make the Face: Using the brown thread and a whip stitch, sew both eyes onto the blue face.
7) Place the mouth between the eyes and sew it on using the same whip stitch and brown thread.
8) Place the red/pink cheeks under the eyes. Sew them on using pink thread and the same stitch.
.jpg)
9) Using the brown thread, sew the belly button onto the belly by making two long stitches that cross over each other.
10) Attach Face to body (Take Time to position properly before sewing) Place the face in the guide and remove the guide. Use the whip stitch.
.jpg)
11) Optional Hairpiece: Using a whip stitch and thread, sew the hair piece on the body and face.
12) Place the belly below the face and pin to the body.
.jpg)
13) Using a whip stitch, sew it to the body with blue thread. The monster is starting to come along now!
14) Prepare the horns and arms: you can whip stitch them together to make them thicker.
Sewing The Body:
15) Using white thread, sew each arm onto the body at the top using a whip stitch again.
.jpg)
16) Take the front side of the body facing up and place over the back. Line up the sides and pin. The horns are sandwiched between the two sides.
17) Start at the head to seal the horns in place. Sew along the line of the body. Use the Whip Stitch. Make sure to leave a small opening on one side to allow for stuffing.
.jpg)
18) Stuff the entire body with the poly fill/fabric/yarn scraps. Stuff with small handfuls at a time. This should make it evenly stuffed.
.jpg)
19) To close the body, use a whip stitch and white thread. Double knot at the end.
.jpg)
20) Remember you can mix & match colors for all these steps!
21) Add any accessories or create felt clothing for your Yeti and have fun!
.png?216x89)
SCRAP is a 501(c)(3) nonprofit organization, Federal Tax ID 93-1270807.
Donations are tax deductible as allowed by law.
©2021 SCRAP Creative Reuse All rights reserved. SCRAP™ is a trademark of SCRAP Creative Reuse | Website by Morweb.org

-0002.jpg?1024x1024)
-0001.jpg?1024x1024)